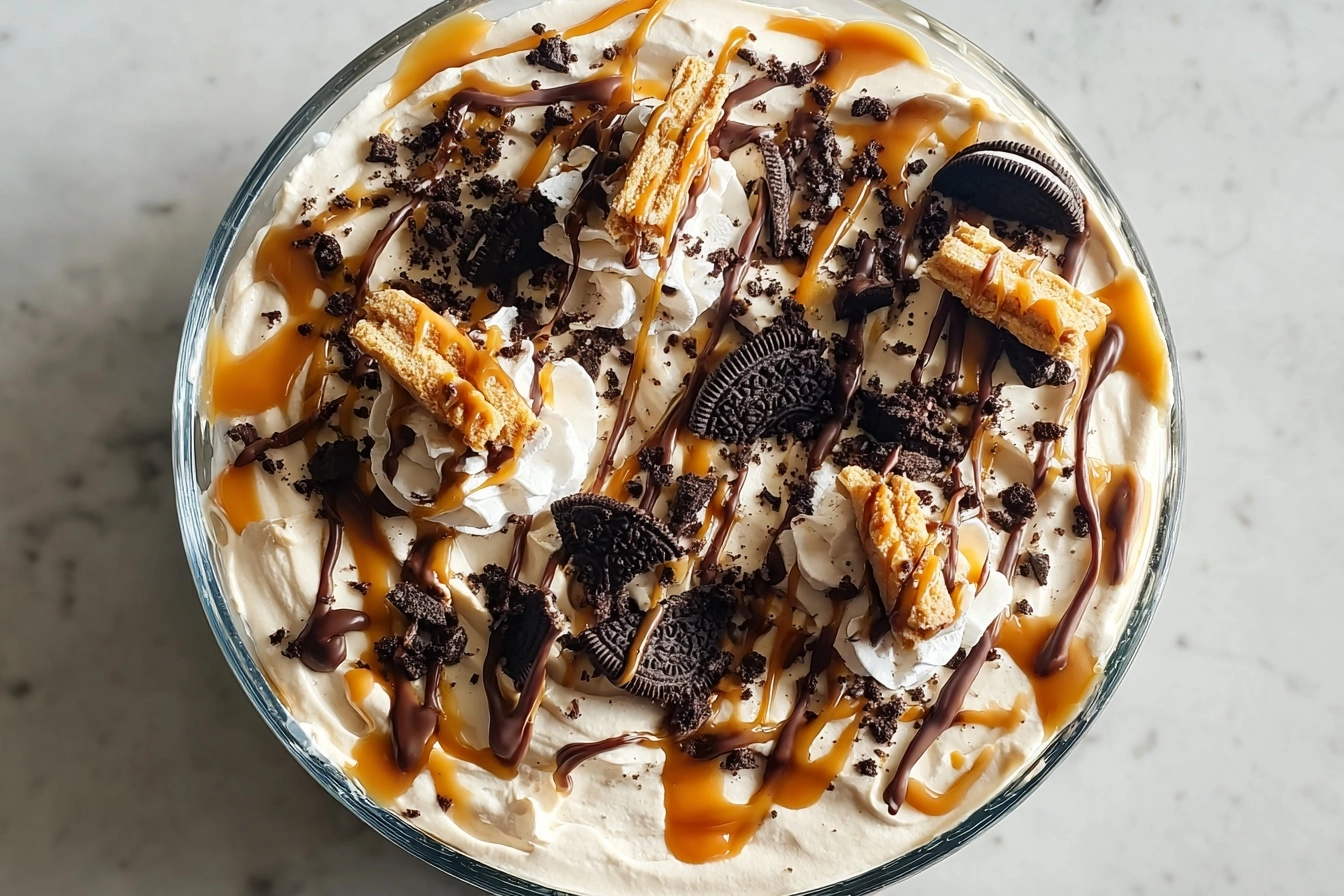
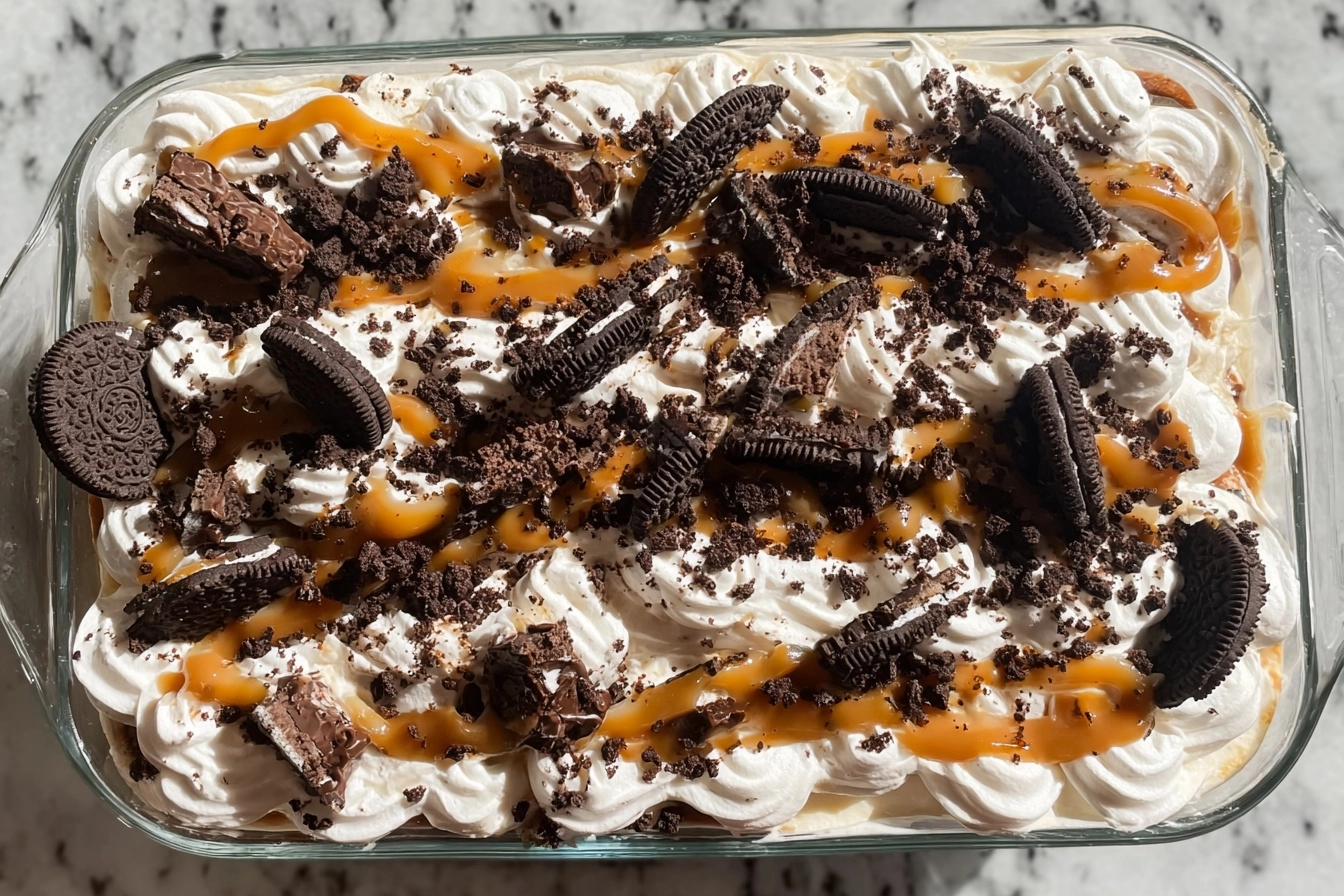
The No-Bake Oreo Ice Cream Cake is a sweet celebration of everything summer desserts should be: simple, crowd-pleasing, and utterly irresistible. Each bite brings together luscious vanilla ice cream, gooey fudge and caramel, clouds of whipped topping, and an avalanche of crushed Oreo cookies. Whether you’re hosting a birthday bash, a cookout, or just want a cool treat on a hot day, this cake hits every note of nostalgia and comfort—no oven required!
Ingredients You’ll Need
Get ready to swoon over how easy it is to bring this beauty together! Every ingredient in this No-Bake Oreo Ice Cream Cake pulls its weight: from cookies that give crunch to sauces that add ribbons of decadence. Here’s everything you’ll need to whip up a masterpiece that disappears almost instantly.
- Vanilla Ice Cream: Use 1.5 quarts, softened just enough to spread smoothly for creamy, dreamy layers.
- Oreo Cookies: One package, crushed up for perfect chocolatey crunch; remember to reserve a cup for that irresistible topping!
- Whipped Topping (8 oz): This brings a light, fluffy finish to each layer and helps hold it all together.
- Hot Fudge Sauce (1/2 cup): Drizzled between the layers, it brings melty, chocolatey magic to every slice.
- Caramel Sauce (1/2 cup): Adds pockets of gooey, buttery-sweet richness throughout the cake.
- Vanilla Extract (1/2 teaspoon): Just a splash deepens the ice cream and whipped topping flavor for authentic homemade taste.
- Pinch of Salt (optional): Enhances every other flavor and makes those caramel notes really sing.
How to Make No-Bake Oreo Ice Cream Cake
Step 1: Prep Your Pan
Start by lining an 8×8 inch dish with parchment paper, or a light coating of nonstick spray. The parchment makes it super easy to lift your ice cream cake out, which means cleaner slices and happier taste-testers.
Step 2: Layer Half the Ice Cream
Scoop out half of your slightly softened vanilla ice cream and spread it gently into an even layer in the bottom of the dish. No need to rush—let the ice cream sit a couple minutes if it’s too solid. The smoother, the better!
Step 3: Add Oreos, Fudge, and Caramel
Sprinkle half of your crushed Oreo cookies right over the ice cream. Now, drizzle some hot fudge and caramel sauce over those cookies. This creates pockets of richness that become absolutely divine once frozen together.
Step 4: Whipped Topping Layer
Spread half the whipped topping over the cookie layer. Add a tiny splash of vanilla extract into the whipped topping before you spread it for a boost of flavor. You’ll notice the cake taking on some exciting height—and anticipation!
Step 5: Repeat the Layers
It’s time to double down! Spoon the remaining ice cream over the last layer, top with more crushed Oreos, and repeat the hot fudge and caramel drizzle. Then, add the final layer of whipped topping, making sure to get all the way to the edges for maximum coverage.
Step 6: Oreo Topping and Final Freeze
Finish things off by sprinkling the reserved cup of crushed Oreos over the top. Pop the whole thing into the freezer for at least 4 hours—or, even better, overnight—until the cake is completely set and sliceable.
How to Serve No-Bake Oreo Ice Cream Cake

Garnishes
Ready to go over the top? Add more fudge, caramel, extra whole Oreos, or even a handful of colorful sprinkles right before you serve. A quick swirl of whipped cream on each slice is always a crowd favorite and makes the No-Bake Oreo Ice Cream Cake look like it came straight from an old-school diner.
Side Dishes
Because this is such a rich, creamy dessert, it pairs beautifully with bowls of fresh, juicy berries or slices of ripe melon. For a full-on party spread, serve alongside iced coffee or tall glasses of cold milk—kids and adults both will be thrilled!
Creative Ways to Present
Think beyond squares! Try serving this No-Bake Oreo Ice Cream Cake in little mason jars for individual portions, or use a ring mold to make mini, stackable cakes for a classy twist at dinner parties. For celebrations, candle it up and let everyone dig in family-style.
Make Ahead and Storage
Storing Leftovers
Leftover No-Bake Oreo Ice Cream Cake keeps beautifully in the freezer. Simply cover tightly with plastic wrap or transfer individual slices to airtight containers. This keeps the texture fresh and the flavors bold for up to a week—perfect for midnight treats or spontaneous guests.
Freezing
For long-term freezing, slice your cake into portions and wrap each one snugly in foil or freezer wrap. Store in a sturdy freezer bag and it’ll stay delicious for up to a month. It’s a lifesaver for summer cravings and those days when you just need a sweet pick-me-up.
Reheating
No actual reheating needed! Just take the No-Bake Oreo Ice Cream Cake out of the freezer and let it sit for about 5 minutes before cutting for the best texture. If your sauces have gotten extra thick, a quick drizzle before serving will bring everything back to decadent life.
FAQs
Can I use store-bought ice cream or do I need homemade?
Absolutely, use your favorite store-bought vanilla ice cream! It’s what keeps the No-Bake Oreo Ice Cream Cake so easy and fuss-free. But if you want to experiment with homemade ice cream, go for it—the result will be ultra-creamy and just as delightful.
How do I get clean slices when serving?
Dip a large, sharp knife in hot water and wipe it dry between each cut. This trick glides through the frozen layers cleanly and ensures every serving looks as fantastic as it tastes.
Can I swap in different flavors of Oreos or ice cream?
Yes! Try golden Oreos, peanut butter cups, mint chip ice cream, or whatever flavor combinations make your heart happy. The No-Bake Oreo Ice Cream Cake is endlessly versatile—get creative!
Is it important to freeze overnight?
Freezing for at least 4 hours will firm it up enough to slice, but overnight chilling helps the layers set fully and lets all the flavors meld. If you can plan ahead, it’s definitely worth the extra chill time.
Can I make this cake in a different sized pan?
Certainly! A 9×9 inch pan works for thinner layers, or use a loaf pan for a taller cake. Just adjust the layering as needed and remember that thicker cakes may need a bit more freezing time.
Final Thoughts
If you’re craving something cool, festive, and just plain fun, you have to try this No-Bake Oreo Ice Cream Cake. It’s a nostalgic classic that never fails to put smiles on faces and spark a little extra joy at any gathering. Grab your cookies, fire up your freezer, and make dessert dreams come true!
Print
No-Bake Oreo Ice Cream Cake Recipe
- Total Time: 4 hours 20 minutes
- Yield: 9 squares 1x
- Diet: Vegetarian
Description
This ultra-creamy, no-bake Oreo ice cream cake is the ultimate summer dessert. With layers of cookies, whipped topping, caramel and fudge drizzle, it’s both indulgent and incredibly easy to make. Perfect for birthdays, cookouts, or anytime you want to cool down with something sweet.
Ingredients
Ice Cream Layer:
- 1.5 quarts vanilla ice cream (softened slightly)
Oreo Layer:
- 1 package Oreo cookies (crushed, reserve 1 cup for topping)
Whipped Topping Layer:
- 1 container (8 oz) whipped topping
Drizzles:
- 1/2 cup hot fudge sauce
- 1/2 cup caramel sauce
Additional:
- 1/2 teaspoon vanilla extract
- Pinch of salt (optional)
Instructions
- Prepare the Dish: Line an 8×8 inch dish with parchment paper or lightly grease.
- Layering: Spread half the softened ice cream in the dish. Top with half of the crushed Oreos and drizzle with hot fudge and caramel. Spread half the whipped topping over the Oreo layer.
- Repeat the layering process with the remaining ice cream, crushed Oreos, fudge, and caramel.
- Final Touch: Top with the final layer of whipped topping and reserved crushed Oreos.
- Freeze: Freeze for at least 4 hours or overnight until firm.
- Serve: Slice and serve cold straight from the freezer.
Notes
- You can customize this ice cream cake with your favorite toppings like nuts, sprinkles, or chocolate chips.
- For a twist, try using different flavored ice cream or cookies.
- Prep Time: 20 minutes
- Category: Dessert
- Method: Freezing
- Cuisine: American
Nutrition
- Serving Size: 1 square
- Calories: 420 kcal
- Sugar: 30g
- Sodium: 260mg
- Fat: 22g
- Saturated Fat: 14g
- Unsaturated Fat: 6g
- Trans Fat: 0g
- Carbohydrates: 52g
- Fiber: 2g
- Protein: 5g
- Cholesterol: 45mg


