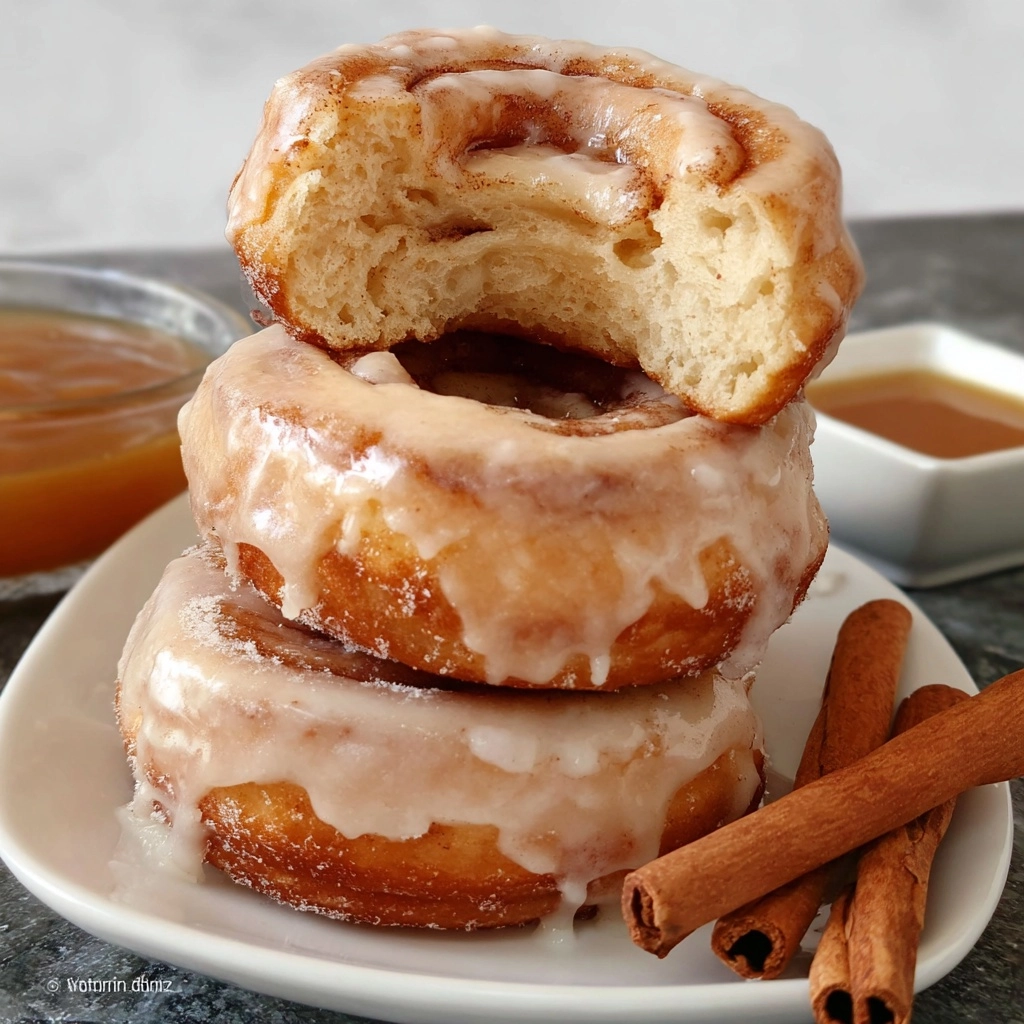
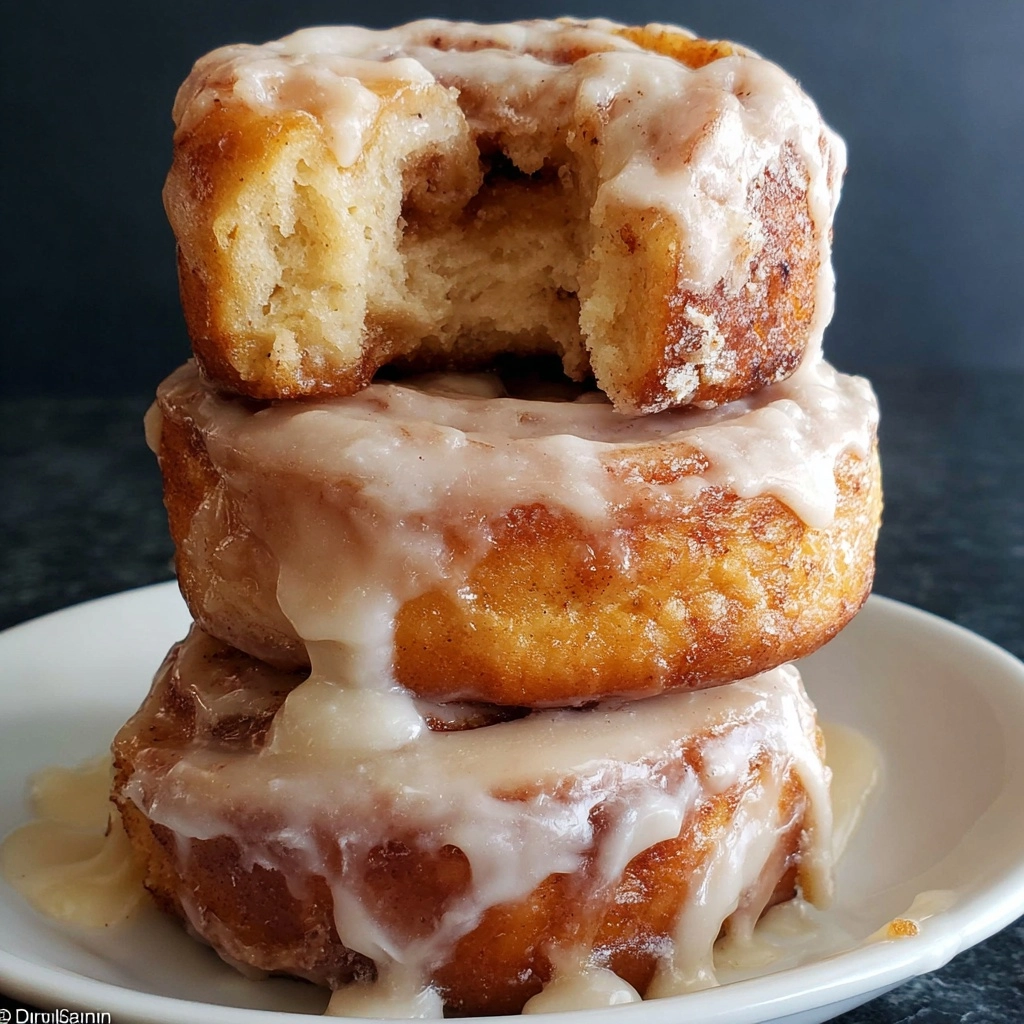
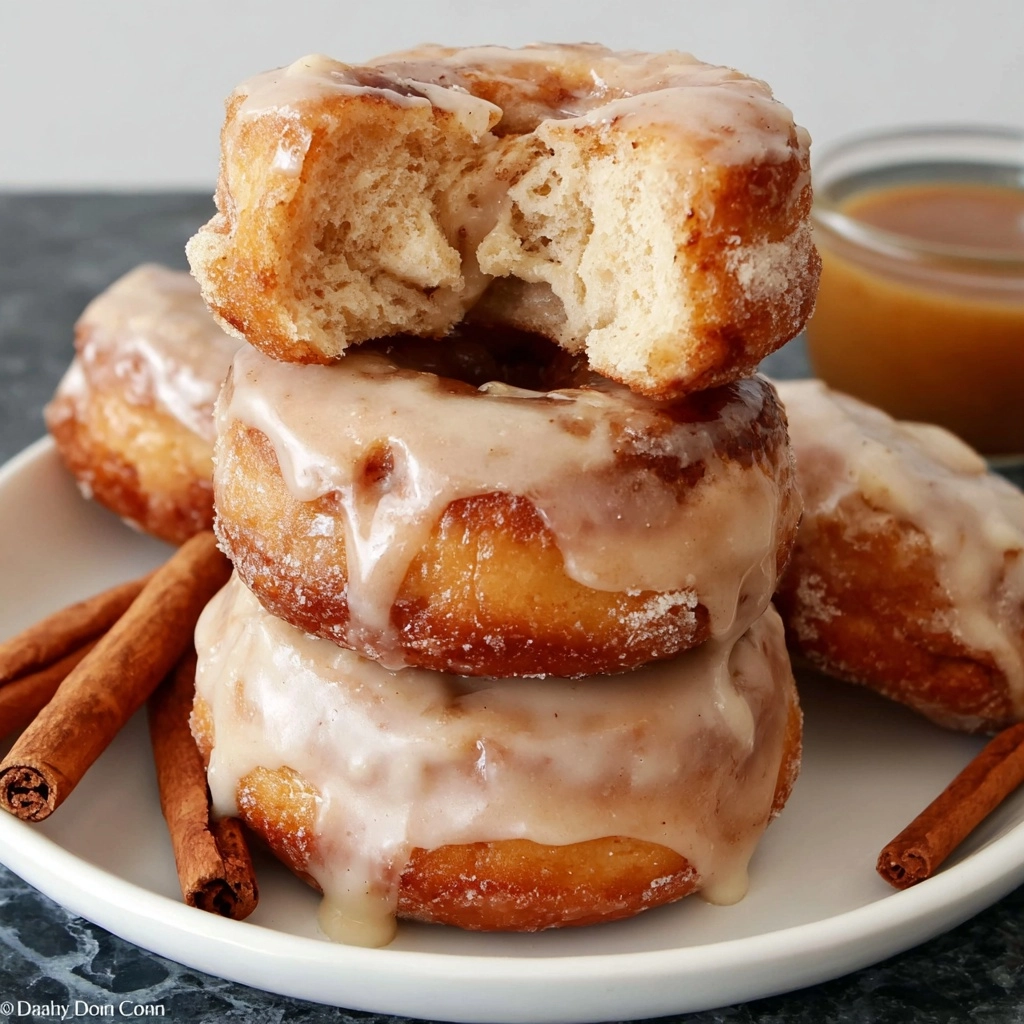
There’s just something magical about the scent of freshly made Homemade Honey Buns wafting through the kitchen—a sweet nostalgia that instantly transports you back to those childhood mornings spent savoring sticky, golden treats. This delightful recipe brings that bakery-fresh flavor right into your own home, with pillowy-soft dough spiraled with cinnamon and drenched in a luscious honey-kissed glaze. Whether you’re baking for an indulgent breakfast, a comforting snack, or a sweet way to show love to friends and family, these buns hit every note of comfort, flavor, and irresistible warmth!
Ingredients You’ll Need
Making Homemade Honey Buns is a joyful process, and it all begins with a handful of pantry staples that transform into something truly special. Each ingredient plays a crucial role—bringing softness, sweetness, warmth and that gorgeous golden-brown color we adore.
- All-purpose flour: Provides structure and the perfect soft-yet-sturdy bite.
- Sugar: Adds just the right amount of sweetness and encourages a golden crust.
- Salt: Balances out the sweetness and enhances every flavor.
- Whole milk: Makes the dough tender and helps it rise beautifully.
- Instant yeast: Speeds up your rise and gives that signature fluffy texture.
- Butter (melted, cooled): Delivers richness and that melt-in-your-mouth crumb.
- Egg: Helps bind everything together and adds a little extra softness.
- Vanilla extract: Brings warmth and aroma to both the dough and the icing.
- Vegetable oil (for greasing and frying): Keeps the dough from sticking and gives the buns their classic fried exterior.
- Cinnamon: A swirl of spice that makes each bite cozy and fragrant.
- Powdered sugar: Essential for a perfectly smooth, drizzlable glaze.
- Honey: The golden touch in your icing—rich, floral, and naturally sweet.
- Non stick cooking spray: Makes sure those rising buns don’t stick to your wrap.
- Wax or parchment paper: Keeps everything neat when glazing and cooling.
How to Make Homemade Honey Buns
Step 1: Mix the Dry Ingredients
Start your Homemade Honey Buns by adding the flour, sugar, and salt to the bowl of your stand mixer fitted with a dough hook. Give them a quick mix to combine. This base sets you up for super-fluffy buns that taste amazing right from the first bite.
Step 2: Prepare the Wet Ingredients
Warm up the milk until it’s just the right cozy bath for yeast—about 110 degrees (think warm but not hot). Whisk in the instant yeast, melted butter, egg, and vanilla until everything’s fully blended and smells wonderfully fragrant. This is where the magic (and scent!) begins.
Step 3: Knead the Dough
Pour your wet ingredients into the dry mix and let your mixer do all the work, kneading on medium speed for about 10 minutes. Scrape down the sides as needed. You’ll end up with a smooth, elastic dough that promises those dreamy, pillow-soft buns.
Step 4: First Rise
Grease a big bowl with a touch of vegetable oil, then plop your dough in. Cover with plastic wrap and let it rise in a cozy spot for about 90 minutes, until it has doubled in size. Watching the dough puff up is always so satisfying!
Step 5: Shape and Fill
Press down the dough gently with clean hands and move it to a floured surface. Gently pat or roll it into a rectangle that’s about 15 inches long by 8 inches wide. Sprinkle the entire surface evenly with cinnamon for that iconic swirl.
Step 6: Roll and Slice
Starting from the long side, roll the dough tightly into a log. Wet your fingers and run them along the edge before pinching to seal the seam—this helps keep all that cinnamon magic inside! For perfectly round slices, use a piece of unscented dental floss to cut 1-inch buns.
Step 7: Second Rise
Arrange the buns on wax paper, spray the tops lightly with non-stick spray, and cover with plastic wrap. Give the dough another 30 minutes to rise so the Homemade Honey Buns get that beautiful pillowy height.
Step 8: Fry to Perfection
Heat your oil over medium. Once it’s shimmering, carefully add a few buns at a time, frying each side until golden brown. The transformation from pale dough to rich golden beauties is so rewarding! Let them rest on paper towels after frying to catch any extra oil.
Step 9: Glaze and Finish
While the buns cool just a bit, stir together the melted butter, powdered sugar, milk, honey, and vanilla until smooth and glossy. Dip the tops of each warm bun into the glaze, then let them set on wax or parchment paper so the icing hardens to that perfect crackle. Pure bliss!
How to Serve Homemade Honey Buns

Garnishes
A classic drizzle of honey or a sprinkle of cinnamon on top takes your Homemade Honey Buns to the next level. For even more decadence, add a handful of toasted chopped nuts or a dusting of powdered sugar—anything that makes you smile when you bite in!
Side Dishes
These buns shine all by themselves, but if you’re hosting a brunch, they’re wonderful next to a fresh fruit salad, some creamy yogurt, or even a cup of strong, hot coffee. Their sweetness pairs beautifully with more subtle sides and breakfast classics.
Creative Ways to Present
Try stacking the buns on a pretty cake stand or serving them in a rustic breadbasket lined with a checked cloth. For special occasions, wrap each bun in parchment and twine for delightful, giftable treats. They also make a gorgeous centerpiece for a breakfast or dessert board with jams and spreads to dip!
Make Ahead and Storage
Storing Leftovers
If you find yourself with extra Homemade Honey Buns (lucky you!), simply let them cool completely before storing in an airtight container at room temperature. They’ll stay soft and delicious for up to two days, and the flavors actually deepen overnight!
Freezing
You can easily freeze these buns either before icing or after—just make sure they’re fully cooled first. Wrap each bun tightly in plastic wrap and place them in a freezer bag. Whenever a craving strikes, you’re only minutes away from homemade goodness!
Reheating
To revive that fresh-from-the-fryer magic, warm your buns in the microwave for 10 to 15 seconds or in a low oven (about 300 degrees) for 5 minutes. If frozen, allow them to thaw at room temperature before reheating. A little extra honey on top never hurts!
FAQs
Can I bake Homemade Honey Buns instead of frying?
Absolutely! Place the shaped buns on a parchment-lined baking sheet, let them rise as instructed, then bake at 350 degrees for about 15-18 minutes until golden. The texture is a bit lighter and less rich, but still delicious.
What type of honey is best for the glaze?
Mild, light-flavored honey works beautifully, but don’t be afraid to experiment—orange blossom or wildflower honey can add a unique aroma and sweetness to your Homemade Honey Buns.
Do I need a stand mixer for this recipe?
A stand mixer makes kneading easy, but you can absolutely mix and knead the dough by hand. It’s a little workout, but nothing beats connecting with your baking in a hands-on way!
How do I keep my buns soft after frying?
Make sure to cover the warm buns with plastic wrap or a clean towel after glazing. This traps a bit of steam and keeps your Homemade Honey Buns ultra-soft and moist.
Can I make the dough ahead of time?
Definitely! After the first rise, you can cover and refrigerate the dough overnight. The next day, shape, roll, and fry as instructed for extra convenience and a jump-start on breakfast.
Final Thoughts
Biting into a fresh, homemade honey bun is a little moment of happiness that’s just too good not to share. I hope you try these Homemade Honey Buns and create sweet memories with every warm, sticky, cinnamon-swirled bite!
Print
Homemade Honey Buns Recipe
- Total Time: 3 hours
- Yield: 14 Honey Buns 1x
- Diet: Vegetarian
Description
A classic and beloved recipe for Homemade Honey Buns featuring a delicious glaze, perfect for satisfying your sweet tooth cravings.
Ingredients
For the Honey Buns
- 2 1/4 cups all-purpose flour
- 1/4 cup sugar
- 1/2 tsp salt
- 2/3 cup whole milk
- 1 packet instant yeast
- 1/3 cup butter, melted and cooled
- 1 large egg
- 2 tsp vanilla extract
- 1 1/2 tsp vegetable oil
- 2 tsp cinnamon
- 2–2 1/2 cups vegetable oil, for frying
For The Icing
- 3 tbsp butter, melted
- 1 1/4 cup powdered sugar, sifted
- 2 tbsp milk
- 2 tsp honey
- 1/2 tsp vanilla extract
Instructions
- For The Honey Buns – Using a stand mixer with a dough hook attachment, combine flour, sugar, and salt. Heat milk, then add yeast, melted butter, egg, and vanilla. Mix until combined. Knead in stand mixer for 10 minutes. Allow dough to rise. Roll out dough, sprinkle with cinnamon, roll into a log, cut into buns, let rise, then fry until golden brown.
- For The Icing – Mix melted butter, powdered sugar, milk, honey, and vanilla until smooth. Dip warm buns into icing and allow to set.
- Prep Time: 2 hours 45 minutes
- Cook Time: 15 minutes
- Category: Dessert
- Method: Frying, Baking
- Cuisine: American
Nutrition
- Serving Size: 1 Honey Bun
- Calories: 275
- Sugar: 15g
- Sodium: 180mg
- Fat: 12g
- Saturated Fat: 3g
- Unsaturated Fat: 7g
- Trans Fat: 0g
- Carbohydrates: 38g
- Fiber: 1g
- Protein: 3g
- Cholesterol: 25mg


